It was a sunny summer day when I first discovered the magic of Beer Can Chicken. My buddy Mike had invited a few of us over for a backyard barbecue, and when he unveiled this towering, golden-brown bird perched atop a can of beer, I’ll admit I was a little skeptical. But the moment I took that first bite, I was hooked. The meat was incredibly moist and tender, with a delightful smoky-sweet flavor that had me going back for seconds (and thirds!). From that day on, Beer Can Chicken has become my go-to recipe for entertaining guests, impressing my family, and simply enjoying a delicious, easy-to-make meal.
Table of Contents
Why This Beer Can Chicken Recipe Will Become Your Go-To
The Secret Behind Perfect Beer Can Chicken
There’s something truly special about the way the beer infuses the chicken with incredible moisture and flavor. As the chicken cooks, the beer slowly steams and bastes the meat, keeping it juicy and tender from the inside out. But the real magic happens when the seasoning rub combines with the beer, creating a mouthwatering caramelized crust that’s simply irresistible.
The key is to use just the right blend of spices – the paprika, garlic powder, onion powder, and dried thyme all work together to create a depth of flavor that complements the beer perfectly. And don’t forget the salt and pepper – they’re the unsung heroes that bring all the flavors together in perfect harmony.
Essential Ingredients You’ll Need
- 1 (4-5 pound) whole chicken: This large, juicy bird is the canvas for our flavor masterpiece. The size ensures you have enough meat to feed a crowd (or enjoy plenty of leftovers!).
- 2 tablespoons olive oil: This helps the seasoning rub adhere to the chicken and promotes even browning.
- 1 tablespoon paprika: For a lovely smoky-sweet flavor.
- 1 teaspoon garlic powder: Adds a savory, aromatic punch.
- 1 teaspoon onion powder: Complements the garlic and enhances the overall seasoning.
- 1 teaspoon dried thyme: Provides an earthy, herbal note that ties everything together.
- 1 teaspoon salt: Essential for bringing out all the other flavors.
- 1/2 teaspoon black pepper: Adds a subtle kick of heat and complexity.
- 1 (12-ounce) can of beer: The secret ingredient that steams and bastes the chicken, keeping it incredibly moist.
Step-by-Step Beer Can Chicken Instructions
Preparing Your Beer Can Chicken
With a total time of 75 minutes (15 minutes of prep and 60 minutes of cook time), this Beer Can Chicken recipe is perfect for busy weeknights or laid-back weekends. All you’ll need is a whole chicken, a can of beer, and a few simple seasonings. Let’s get started!
1- Begin by preheating your oven to 375°F. This ensures your oven is nice and hot, ready to give the chicken a beautiful golden-brown crust.
2- In a small bowl, combine the olive oil, paprika, garlic powder, onion powder, dried thyme, salt, and black pepper. Rub this flavorful seasoning all over the chicken, making sure to get it into all the nooks and crannies.
3- Gently lower the chicken onto the opened beer can, making sure the can is positioned securely inside the cavity. This will help the chicken stand upright during cooking.
4- Place the beer can chicken on a rimmed baking sheet and transfer it to the preheated oven. As it cooks, the beer will slowly steam and baste the chicken, keeping it incredibly moist and juicy.
5- After 60 minutes, use a meat thermometer to check that the internal temperature of the chicken has reached 165°F. This ensures the chicken is cooked through and safe to enjoy.
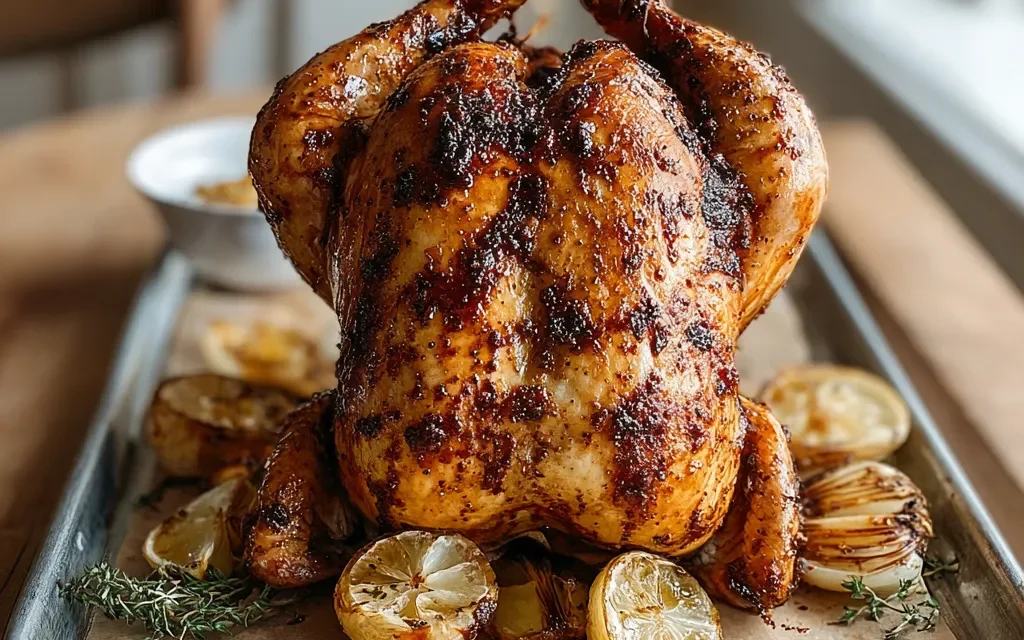
6- Carefully remove the chicken from the oven and let it rest for 10 minutes before carving. This allows the juices to redistribute, resulting in the most tender, flavorful bites. Serve your Beer Can Chicken hot, garnished with fresh herbs if desired.
Pro Tips for Success
- Make sure to use a full, unopened can of beer – the liquid is essential for steaming and basting the chicken.
- Be gentle when lowering the chicken onto the beer can, as you don’t want to spill any of the precious liquid.
- Use a meat thermometer to ensure the chicken is cooked to a safe internal temperature of 165°F. This will prevent overcooking or undercooking.
- Let the chicken rest for at least 10 minutes before carving to allow the juices to redistribute, resulting in the most tender and juicy meat.
Serving and Storing Your Beer Can Chicken
Perfect Pairings for Beer Can Chicken
This Beer Can Chicken recipe serves 4-6 people, making it perfect for small gatherings or weeknight dinners. For a complete meal, consider serving it alongside roasted potatoes, a fresh green salad, and a crisp, cold beer. The smoky-sweet flavors of the chicken pair beautifully with the hoppy bitterness of an IPA or the refreshing crispness of a lager.
Storage and Make-Ahead Tips
Leftovers of this Beer Can Chicken can be stored in an airtight container in the refrigerator for up to 3 days. To reheat, simply place the chicken in a baking dish and warm it in a 350°F oven until heated through, about 15-20 minutes.
For make-ahead convenience, you can prepare the seasoning rub in advance and store it in an airtight container. When ready to cook, simply rub it onto the chicken and proceed with the recipe. You can even assemble the entire dish, place the beer can chicken on the baking sheet, and refrigerate it until you’re ready to bake it.
Variations and Dietary Adaptations for Beer Can Chicken
Creative Beer Can Chicken Variations
While this classic Beer Can Chicken recipe is hard to beat, there are plenty of ways to put your own twist on it. Try switching up the seasonings by using a Cajun or Mexican-inspired rub, or experiment with different types of beer like stouts, IPAs, or even fruit-flavored brews. You can also add sliced onions, garlic cloves, or fresh herbs to the baking sheet for extra flavor.
Making Beer Can Chicken Diet-Friendly
For those following a gluten-free diet, simply swap the regular beer for a gluten-free variety. Vegans and vegetarians can enjoy a plant-based version by using a 12-ounce can of chickpeas or vegetable broth instead of the beer, and using oil or a plant-based butter substitute in place of the olive oil.
Frequently Asked Questions
Q: Can I use a different type of beer in this recipe?
A: Absolutely! The type of beer you use can greatly influence the flavor of the chicken. Try experimenting with stouts, IPAs, or even fruit-flavored beers to find your perfect match.
Q: How long does it take to cook the Beer Can Chicken?
A: This recipe has a total time of 75 minutes, with 15 minutes of prep and 60 minutes of cook time. The beer-infused steaming and basting process ensures the chicken cooks through evenly and stays incredibly moist.
Q: Can I make Beer Can Chicken ahead of time?
A: Yes, you can absolutely prepare this dish in advance. You can make the seasoning rub ahead of time and store it in an airtight container. You can also assemble the entire dish, place the beer can chicken on the baking sheet, and refrigerate it until you’re ready to bake it.
Q: How many people does this Beer Can Chicken recipe serve?
A: This recipe serves 4-6 people, making it perfect for small gatherings or weeknight dinners. The large, 4-5 pound whole chicken provides plenty of tender, flavorful meat to share.
Q: What should I do if the skin doesn’t get crispy?
A: If the skin doesn’t achieve that perfect golden-brown crispness, try briefly broiling the chicken for 2-3 minutes at the end of the cooking time. Keep a close eye on it to prevent burning. You can also try patting the chicken dry with paper towels before seasoning to help the skin crisp up.
Conclusion
Beer Can Chicken is truly a culinary masterpiece that’s surprisingly easy to make at home. With its incredible moisture, bold flavor, and show-stopping presentation, this recipe is sure to impress your friends and family. Whether you’re hosting a backyard barbecue or simply looking for a delicious, hassle-free weeknight meal, this Beer Can Chicken will become your new go-to. So grab a can of beer, fire up your oven, and get ready to enjoy the juiciest, most flavorful chicken you’ve ever tasted. Don’t forget to let me know how it turns out – I’d love to hear your thoughts in the comments!


