Growing up, Cannoli Squares were always a special treat in my family. I can still remember the anticipation of watching my Nonna carefully crafting these delightful bites, her hands moving with the precision of a surgeon as she carefully piped the creamy filling into the flaky pastry shells. The aroma that would waft through the kitchen was enough to make my mouth water – a tantalizing blend of sweet ricotta, warm cinnamon, and the faintest hint of citrus.
Cannoli Squares were never just a dessert in our household; they were a connection to our heritage, a way to bring our family together around the table. Whether it was for a Sunday supper, a holiday celebration, or just a random weeknight, Nonna would always make sure to have a platter of her famous Cannoli Squares at the ready. And let me tell you, they never lasted long! We’d all dive in, savoring each and every bite, the flaky pastry shell giving way to the luscious filling with each delectable morsel.
Even now, as an adult, the mere thought of Cannoli Squares instantly transports me back to those cherished moments in Nonna’s kitchen. That’s why I’m so excited to share this recipe with you – it’s not just a dessert, it’s a piece of my family’s history, and I know it’ll become a beloved tradition in your home too.
Table of Contents
Why This Cannoli Squares Recipe Will Become Your Go-To
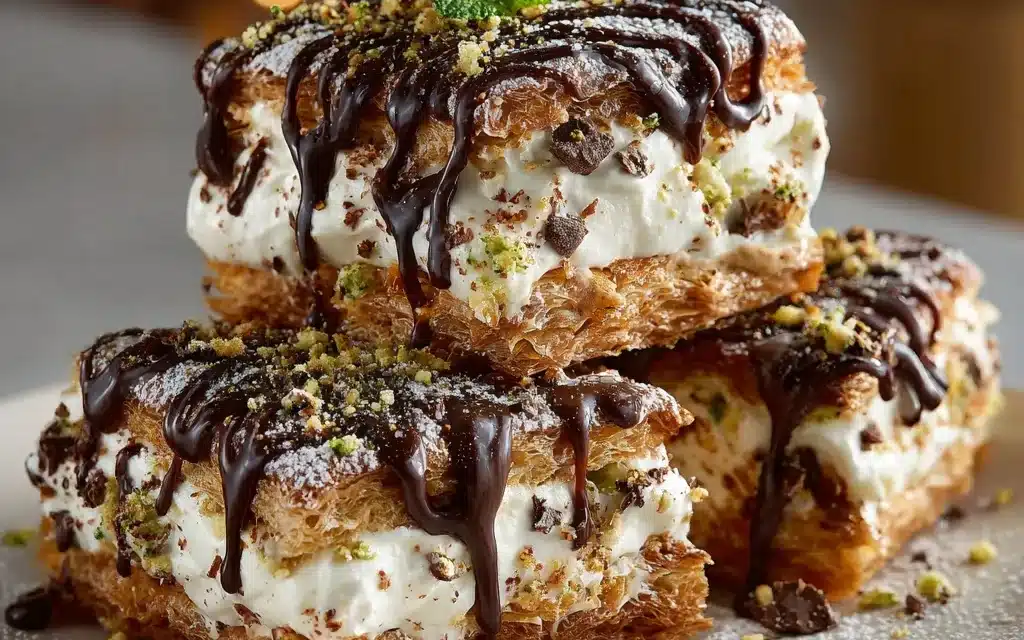
The secret behind this Cannoli Squares recipe is the perfect balance of flavors and textures. The pastry shell is made with a light, buttery dough that bakes up flaky and golden, providing the perfect vessel for the rich, creamy filling. And let me tell you, this filling is the true star of the show. Made with a harmonious blend of ricotta, sweetened condensed milk, and a touch of cinnamon and citrus, it’s a flavor explosion in every bite.
The Secret Behind Perfect Cannoli Squares
What sets this Cannoli Squares recipe apart is the attention to detail in both the dough and the filling. The pastry is carefully crafted to achieve that irresistible crunch, while the filling is whipped to a silky-smooth consistency that melts on your tongue. And the secret ingredient? A splash of orange liqueur, which adds a subtle complexity that takes these Cannoli Squares to the next level.
Essential Ingredients You’ll Need
- Ricotta cheese: The foundation of the filling, providing a rich, creamy texture.
- Sweetened condensed milk: Adds the perfect touch of sweetness to balance the ricotta.
- Cinnamon: Warms up the filling with its cozy, fragrant notes.
- Vanilla extract: Enhances the overall flavor profile.
- Orange liqueur: A secret ingredient that adds depth and complexity.
- All-purpose flour: The base for the flaky, buttery pastry shell.
- Unsalted butter: Gives the dough its rich, tender texture.
- Granulated sugar: Sweetens the dough and helps create that golden-brown crust.
- Egg: Binds the dough and helps it hold its shape.
Step-by-Step Cannoli Squares Instructions
Preparing Your Cannoli Squares
Baking Cannoli Squares is a truly rewarding process, and with a little attention to detail, you’ll be whipping up batch after batch of these irresistible treats. The total prep and baking time for this recipe is about 1 hour, and you’ll need a food processor, a piping bag, and a baking sheet.
1- Start by making the pastry dough. In a food processor, pulse together the flour, butter, sugar, and a pinch of salt until the mixture resembles coarse crumbs. Add the egg and pulse until the dough just begins to come together.
2- Turn the dough out onto a lightly floured surface and knead it briefly, just until it forms a smooth ball. Wrap the dough in plastic wrap and refrigerate for 30 minutes to allow the gluten to relax.
3- While the dough is chilling, prepare the filling. In a large bowl, beat the ricotta, sweetened condensed milk, cinnamon, vanilla, and orange liqueur until smooth and creamy.
4- Preheat your oven to 375°F (190°C). Line a baking sheet with parchment paper.
5- Once the dough has rested, roll it out on a lightly floured surface to a thickness of about 1/8 inch. Use a sharp knife or a pizza cutter to cut the dough into 1-inch squares.
6- Transfer the squares to the prepared baking sheet, spacing them about 1 inch apart. Bake for 12-15 minutes, or until the pastry is golden brown and flaky. Allow the Cannoli Squares to cool completely on the baking sheet.
Pro Tips for Success
- For the flakiest pastry, be sure not to overwork the dough. Gently knead it just until it comes together.
- Chilling the dough is crucial – it helps the gluten relax, making the dough easier to roll out.
- Taste the filling as you go and adjust the sweetness or spices to your liking.
- Avoid overfilling the pastry shells, as the filling can ooze out during baking.
- Let the baked Cannoli Squares cool completely before piping in the filling, as the hot pastry can make the filling runny.
Serving and Storing Your Cannoli Squares
Perfect Pairings for Cannoli Squares
Cannoli Squares are the ultimate versatile dessert, pairing perfectly with a wide range of beverages and accompaniments. For a classic Italian-inspired pairing, serve them with a strong espresso or a glass of sweet Marsala wine. They also make a delightful addition to an afternoon tea or coffee break. And don’t be afraid to get creative – these Cannoli Squares would be a showstopping finale to a fancy dinner party or a cozy family gathering.
Storage and Make-Ahead Tips
Cannoli Squares are best enjoyed fresh, but they can be stored for up to 3 days in an airtight container in the refrigerator. When ready to serve, let them come to room temperature for about 30 minutes to allow the flavors to shine. For make-ahead convenience, you can prepare the dough and filling in advance, then assemble and bake the Cannoli Squares just before serving.
Variations and Dietary Adaptations for Cannoli Squares
Creative Cannoli Squares Variations
While the classic Cannoli Squares are a true delight, there’s always room for a little creativity. Try swapping out the orange liqueur for a splash of Amaretto for a nutty twist, or fold in some chopped dark chocolate or candied citrus zest for extra indulgence. You could even experiment with different fillings, like sweetened ricotta with chopped pistachios or a creamy mascarpone blend.
Making Cannoli Squares Diet-Friendly
For those with dietary restrictions, Cannoli Squares can easily be adapted to suit your needs. To make them gluten-free, simply substitute the all-purpose flour with a 1:1 gluten-free flour blend. For a vegan version, use a plant-based ricotta alternative and swap the sweetened condensed milk for a creamy non-dairy milk and a touch of maple syrup. And for a low-carb twist, you can try using a keto-friendly sweetener in place of the sugar.
Frequently Asked Questions
Q: Can I use a different type of cheese in the filling besides ricotta?
A: While ricotta is the traditional choice, you can certainly experiment with other soft cheeses like mascarpone or even a blend of ricotta and cream cheese. Just be sure to adjust the sweetness and spices to your liking.
Q: How do I keep the pastry shells from getting soggy?
A: The key is to let the baked shells cool completely before piping in the filling. This helps prevent the moisture from the filling from making the pastry soft. You can also try dusting the inside of the shells with a bit of powdered sugar or cinnamon before adding the filling.
Q: Can I make the Cannoli Squares ahead of time?
A: Absolutely! You can prepare the dough and filling up to 3 days in advance and assemble the Cannoli Squares just before serving. Store the baked, unfilled shells in an airtight container, and the filling in a separate container in the fridge. When ready to serve, simply pipe the filling into the shells.
Q: How do I know when the Cannoli Squares are done baking?
A: The pastry shells should be a beautiful golden-brown color and feel light and flaky when you touch them. You can also gently lift one off the baking sheet – if it releases easily and holds its shape, it’s ready to come out of the oven.
Q: What can I do if the filling oozes out during baking?
A: If you find that the filling is seeping out of the pastry shells during baking, try reducing the amount of filling you’re using, or be sure to not overfill the shells. You can also try chilling the filled shells in the fridge for 30 minutes before baking to help the filling set up a bit.


Cannoli Squares
- Total Time: 60
- Yield: 16 squares
Description
Indulge in the classic flavors of cannoli in an easy-to-make bar format with these irresistible Cannoli Squares. Featuring a flaky pastry crust and a creamy, sweet ricotta-based filling, these squares are the perfect treat for any occasion.
Ingredients
– 1 cup all-purpose flour
– 1/4 cup granulated sugar
– 1/2 cup unsalted butter, softened
– 1 cup whole milk ricotta cheese
– 1/2 cup powdered sugar, plus more for dusting
– 2 large eggs
– 1 teaspoon vanilla extract
– 1/4 teaspoon salt
Instructions
1. 1. Preheat the oven to 350°F. Grease an 8×8-inch baking pan.
2. 2. In a medium bowl, combine the flour and granulated sugar. Cut in the butter until the mixture resembles coarse crumbs. Press the mixture into the prepared baking pan.
3. 3. Bake for 15-18 minutes, or until the crust is lightly golden. Allow to cool completely.
4. 4. In a large bowl, beat the ricotta, powdered sugar, eggs, vanilla, and salt until smooth and creamy.
5. 5. Spread the ricotta filling evenly over the cooled crust.
6. 6. Bake for 25-30 minutes, or until the filling is set. Allow to cool completely.
7. 7. Cut into squares and dust with additional powdered sugar before serving.
Notes
For a richer flavor, you can add a teaspoon of cinnamon to the ricotta filling. These Cannoli Squares can be stored in the refrigerator for up to 5 days.
- Prep Time: 15
- Cook Time: 45
- Category: Dessert
- Method: Baking
- Cuisine: Italian-American
Conclusion
These Cannoli Squares are a true family treasure, and I’m so excited to share this recipe with you. I hope that with every bite, you’ll be transported to my Nonna’s kitchen, where the aroma of cinnamon and citrus fills the air and the sounds of laughter and conversation echo around the table. Give this recipe a try, and I guarantee it’ll become a beloved tradition in your home too. Don’t forget to let me know how they turn out – I can’t wait to hear all about your Cannoli Squares adventures!


