It was Halloween night, and my kitchen was a whirlwind of spooky decorations, pumpkin-spiced everything, and an overwhelming aroma of chocolatey goodness. I was on a mission to create the most hauntingly delicious Mummy Brownies that would have my friends and family begging for the recipe. As I carefully piped the melted white chocolate onto the freshly baked Mummy Brownies, I couldn’t help but feel a sense of pride and excitement. These Mummy Brownies were going to be the talk of the party, and I couldn’t wait to see the reactions on everyone’s faces.
Table of Contents
Why This Mummy Brownies Recipe Will Become Your Go-To
The Secret Behind Perfect Mummy Brownies
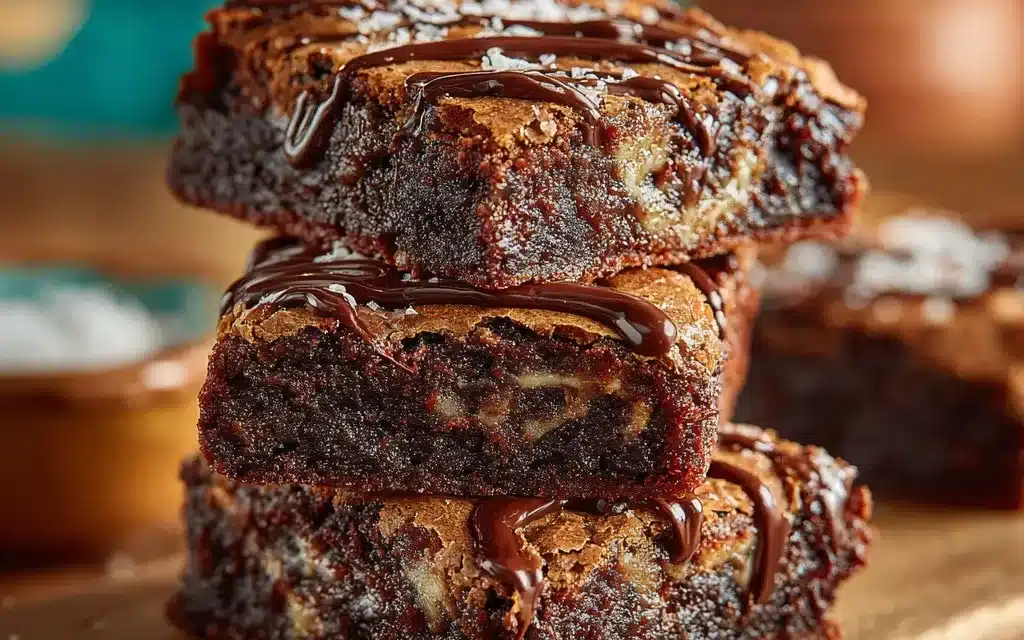
What sets these Mummy Brownies apart is the combination of a rich, fudgy brownie base and the playful, spooky mummy-inspired design. The secret lies in the perfect balance of ingredients and the attention to detail in the decorating process. By using high-quality cocoa powder and melted chocolate, the brownies achieve a deep, intense chocolate flavor that will have your taste buds doing a happy dance. And the white chocolate “bandages” not only add a whimsical touch but also provide a delightful contrast to the dark chocolate.
Essential Ingredients You’ll Need
- Unsweetened cocoa powder: This is the foundation of the brownie, providing the deep, rich chocolate flavor.
- Melted chocolate: A combination of dark and milk chocolate creates a harmonious balance of flavors.
- Butter: For a moist and fudgy texture, butter is essential.
- Eggs: Binding the ingredients together and adding structure.
- Sugar: Sweetness to balance the bitterness of the cocoa.
- Flour: All-purpose flour gives the brownies their classic texture.
- Vanilla extract: Enhancing the overall flavor profile.
- White chocolate: Used to create the mummy “bandages” for the spooky effect.
Step-by-Step Mummy Brownies Instructions
Preparing Your Mummy Brownies
Baking these Mummy Brownies is a straightforward process that takes around an hour and a half from start to finish. You’ll need a mixing bowl, a baking pan, and a piping bag to achieve the perfect mummy-wrapped look. Let’s dive into the step-by-step instructions to create these hauntingly delicious treats.
1- Preheat your oven to 350°F (175°C) and grease a 9×13 inch baking pan.
2- In a large mixing bowl, combine the melted chocolate, butter, and sugar. Whisk until the mixture is smooth and well-blended.
3- Add the eggs one at a time, beating well after each addition. Then stir in the vanilla extract.
4- Sift in the cocoa powder and flour, and gently fold the dry ingredients into the wet mixture until just combined. Be careful not to overmix.
5- Pour the brownie batter into the prepared baking pan and spread it evenly. Bake for 25-30 minutes, or until a toothpick inserted into the center comes out clean.
6- Allow the brownies to cool completely before decorating with the mummy “bandages” made from melted white chocolate.
Pro Tips for Success
To ensure your Mummy Brownies turn out perfectly, remember to use room temperature ingredients and avoid overbaking. The key to fudgy, moist brownies is to not over-mix the batter and to keep a close eye on the baking time. When it comes to the decorating, be patient and take your time piping the white chocolate – the more intricate the mummy design, the spookier and more impressive the final result will be.
Serving and Storing Your Mummy Brownies
Perfect Pairings for Mummy Brownies
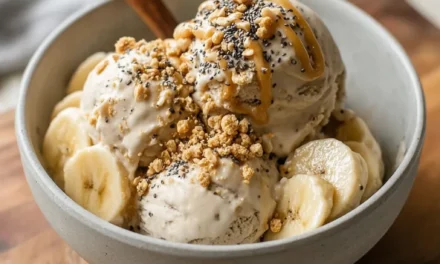
These Mummy Brownies are the ultimate Halloween treat, but they also make a delightful dessert for any fall or winter gathering. Serve them alongside a cup of hot apple cider or pumpkin spice latte for a cozy, autumnal vibe. For a more indulgent pairing, a scoop of vanilla ice cream or a dollop of freshly whipped cream would be the perfect accompaniment.
Storage and Make-Ahead Tips
Mummy Brownies can be stored in an airtight container at room temperature for up to 4 days. If you’d like to make them ahead of time, you can bake the brownies and let them cool completely before wrapping them tightly in plastic wrap or foil. The decorated brownies can be stored this way for up to 3 days. When ready to serve, simply pipe on the white chocolate “bandages” and they’ll be ready to impress your guests.
Variations and Dietary Adaptations for Mummy Brownies
Creative Mummy Brownies Variations
If you’re feeling extra creative, try adding a sprinkling of crushed Oreo cookies or Halloween-themed sprinkles to the top of the Mummy Brownies for an added touch of festivity. You could also experiment with different chocolate varieties, such as using white chocolate or even a combination of dark and milk chocolate for the brownie base.
Making Mummy Brownies Diet-Friendly
For a gluten-free version of Mummy Brownies, simply substitute the all-purpose flour with a gluten-free flour blend. To make them vegan, replace the butter with a plant-based alternative, such as coconut oil or vegan margarine, and use flax or chia eggs instead of regular eggs. And for a low-carb twist, try using a sugar substitute and almond flour in place of the all-purpose flour.
Frequently Asked Questions
Q: Can I use a different type of chocolate for the brownies?
A: Absolutely! While the recipe calls for a combination of dark and milk chocolate, you can experiment with different varieties, such as semi-sweet, bittersweet, or even white chocolate, to create your own unique flavor profile.
Q: How do I get the mummy “bandages” to look perfect?
A: Patience and a steady hand are key when piping the melted white chocolate onto the cooled brownies. Start with thin, even lines and work your way around the brownie, overlapping the “bandages” for a more authentic mummy look.
Q: Can I make the Mummy Brownies ahead of time?
A: Yes, you can! The baked and cooled brownies can be stored in an airtight container for up to 3 days before decorating. The decorated Mummy Brownies can also be kept in an airtight container at room temperature for up to 4 days.
Q: How do I prevent the brownies from drying out?
A: To keep your Mummy Brownies moist and fudgy, be sure not to overbake them. Check the brownies a few minutes before the recommended baking time, and remove them from the oven as soon as a toothpick inserted in the center comes out clean.
Conclusion
These Mummy Brownies are the perfect Halloween treat that will have your friends and family begging for the recipe. With their rich, fudgy texture and spooky mummy-inspired design, they’re sure to be the talk of any Halloween party or gathering. So, put on your best witch’s hat, gather your ingredients, and get ready to create a batch of these hauntingly delicious Mummy Brownies that will have everyone swooning. Don’t forget to share your creations with us and let us know how they turned out!


