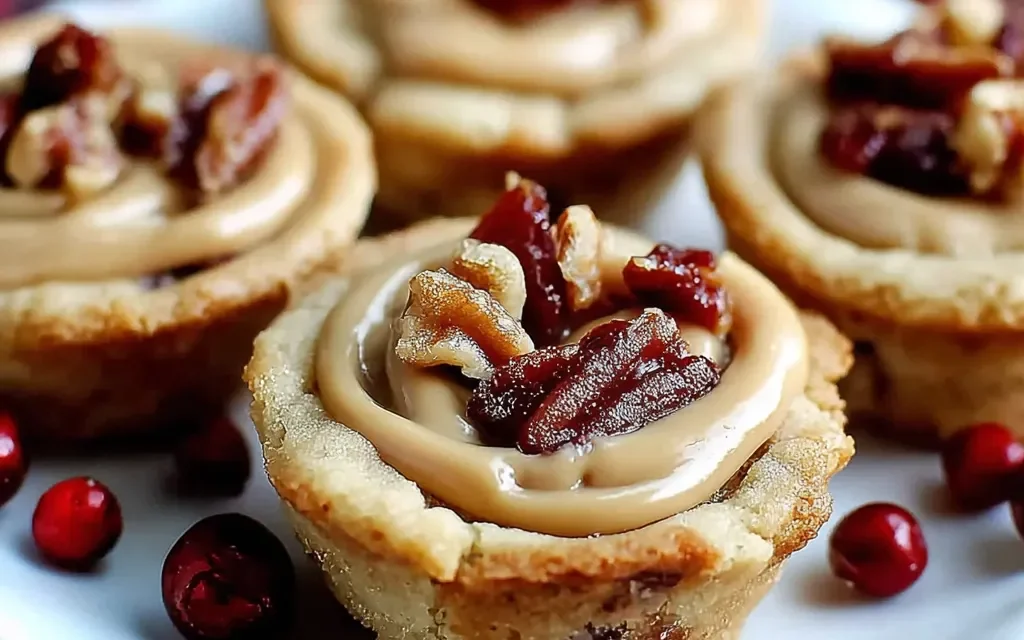
I can still remember the first time I tried my grandma’s famous Elvis Cookie Cups. I was just a little kid, sitting at her kitchen table, eagerly anticipating the warm, gooey treats she had just pulled from the oven. The aroma of peanut butter, bananas, and chocolate filled the air, and I could hardly contain my excitement.
As I took my first bite, the flavors exploded in my mouth – the rich peanut butter, the sweet bananas, and the decadent chocolate chips all coming together in perfect harmony. It was like Elvis himself had visited my taste buds! From that moment on, I was hooked. Those Elvis Cookie Cups became a treasured family tradition, something we’d make for special occasions or just because we needed a little taste of heaven.
Table of Contents
Why This Elvis Cookie Cups Recipe Will Become Your Go-To
The Secret Behind Perfect Elvis Cookie Cups
Over the years, I’ve perfected the art of making these incredible Elvis Cookie Cups, and I’m excited to share the secret with you. What sets this recipe apart is the perfect balance of flavors and textures. The soft, chewy cookie base is the perfect canvas for the creamy peanut butter, ripe bananas, and melty chocolate chips.
The key is to use high-quality ingredients and follow the recipe to a tee. By doing so, you’ll end up with a batch of Elvis Cookie Cups that are sure to impress everyone who tries them. Trust me, once you taste these, you’ll be making them again and again.
Essential Ingredients You’ll Need
To create the ultimate Elvis Cookie Cups, you’ll need a few essential ingredients:
- 1 1/2 cups all-purpose flour: This provides the foundation for the cookie cups, giving them a delicious, tender texture.
- 1/2 teaspoon baking soda: This helps the cookies rise and gives them a light, fluffy interior.
- 1/4 teaspoon salt: A small amount of salt enhances the flavors and balances the sweetness.
- 1/2 cup unsalted butter, softened: Butter is the key to creating the perfect cookie texture and richness.
- 3/4 cup granulated sugar: This sweetener gives the cookies their signature chewy consistency.
- 1 egg: The egg binds the ingredients together and adds moisture.
- 1 teaspoon vanilla extract: Vanilla enhances the overall flavor profile.
- 1/2 cup creamy peanut butter: This is the star of the show, providing the iconic “Elvis” flavor.
- 2 ripe bananas, mashed: The sweet, creamy bananas complement the peanut butter beautifully.
- 1/2 cup semi-sweet chocolate chips: The melted chocolate chips add a delightful touch of indulgence.
Step-by-Step Elvis Cookie Cups Instructions
Preparing Your Elvis Cookie Cups
With a total time of just 33 minutes, these Elvis Cookie Cups are a breeze to whip up. You’ll only need a few simple tools: a mixing bowl, a hand mixer or stand mixer, a muffin tin, and an oven.
1- Start by preheating your oven to 350°F and lightly greasing a 12-cup muffin tin. This will ensure your cookie cups release easily after baking.
2- In a medium bowl, whisk together the all-purpose flour, baking soda, and salt. Set this dry ingredient mixture aside for now.
3- In a large bowl, use a hand mixer or stand mixer to cream the softened butter and granulated sugar until light and fluffy, about 2-3 minutes. Then, beat in the egg and vanilla extract until well combined.
4- Now it’s time to add the star ingredients! Gently fold in the creamy peanut butter and mashed ripe bananas until everything is evenly distributed. The batter should have a smooth, creamy texture.
5- Finally, fold in the semi-sweet chocolate chips, making sure they’re evenly dispersed throughout the dough.
6- Using a cookie scoop or spoon, divide the Elvis Cookie Cups batter evenly among the 12 muffin cups. Bake for 18 minutes, or until the edges are golden brown and the centers are set.
Pro Tips for Success
Here are a few expert tips to ensure your Elvis Cookie Cups turn out perfectly every time:
- Use room temperature ingredients: This helps everything blend together seamlessly for the best texture.
- Don’t overmix the batter: Gentle folding is key to keeping the cookies light and tender.
- Adjust baking time as needed: Oven temperatures can vary, so keep an eye on the cookies and adjust the baking time accordingly.
- Let the cookies cool in the pan: This helps them hold their shape and prevents them from falling apart.
Serving and Storing Your Elvis Cookie Cups
Perfect Pairings for Elvis Cookie Cups
These Elvis Cookie Cups are the perfect treat to enjoy on their own, but they also pair beautifully with a variety of drinks and side dishes. For a classic pairing, serve them with a tall glass of cold milk or a steaming mug of coffee or hot chocolate.
If you’re looking to turn these into a more substantial dessert, try serving them with a scoop of vanilla ice cream or a dollop of whipped cream. They also make a fantastic addition to any potluck, party, or holiday spread.
Storage and Make-Ahead Tips
The best part about these Elvis Cookie Cups is that they’re easy to make ahead and store for later enjoyment. Once the cookies have cooled completely, you can store them in an airtight container at room temperature for up to 5 days.
If you’d like to make them in advance, you can also freeze the baked cookie cups. Simply place them in a single layer on a baking sheet and freeze until solid, then transfer them to a freezer-safe bag or container. They’ll keep for up to 3 months in the freezer.
When you’re ready to enjoy them, simply thaw the frozen cookie cups at room temperature or pop them in the microwave for 10-15 seconds to warm them up. With this make-ahead option, you’ll always have a delicious Elvis-inspired treat on hand!
Variations and Dietary Adaptations for Elvis Cookie Cups
Creative Elvis Cookie Cups Variations
While the classic Elvis Cookie Cups are hard to beat, there are plenty of ways to put your own spin on this beloved recipe. For a seasonal twist, try adding a teaspoon of cinnamon to the batter or swapping the chocolate chips for festive red and green M&Ms around the holidays.
Another fun variation is to top the baked cookie cups with a drizzle of peanut butter or melted chocolate for an extra indulgent treat. You could even get creative with the mix-ins, like chopped pecans, shredded coconut, or crushed peanut brittle.
Making Elvis Cookie Cups Diet-Friendly
If you’re looking to make these Elvis Cookie Cups a little more diet-friendly, there are a few simple substitutions you can try. For a gluten-free version, swap the all-purpose flour for a 1-to-1 gluten-free flour blend.
To make them vegan, replace the butter with coconut oil or a dairy-free butter alternative, and use a flax or chia egg instead of a regular egg. For a low-carb twist, you can substitute the granulated sugar with a keto-friendly sweetener like erythritol or monk fruit.
No matter which dietary adaptations you choose, these Elvis Cookie Cups are sure to satisfy your cravings in a delicious and nutritious way.
Frequently Asked Questions
Q: Can I use crunchy peanut butter instead of creamy?
A: Absolutely! Crunchy peanut butter will work just as well in this recipe, adding a nice textural contrast to the cookies.
Q: How long do the Elvis Cookie Cups take to make?
A: From start to finish, this recipe takes just 33 minutes total – 15 minutes of prep time and 18 minutes of baking time.
Q: Can I freeze the baked cookie cups?
A: Yes, you can freeze the baked Elvis Cookie Cups for up to 3 months. Simply place them in a single layer on a baking sheet and freeze until solid, then transfer them to a freezer-safe bag or container.
Q: How many cookie cups does this recipe make?
A: This recipe yields 12 delicious Elvis Cookie Cups, perfect for sharing with friends and family.
Q: What if my cookie cups don’t turn out perfectly round?
A: Don’t worry, a slightly irregular shape is part of the charm of homemade cookie cups. Just focus on getting that perfect peanut butter, banana, and chocolate flavor combination.


Elvis Cookie Cups
- Total Time: 33
- Yield: 12 cookie cups
Description
Indulge in the classic flavors of banana, peanut butter, and chocolate with these easy-to-make Elvis Cookie Cups. A quick and delightful treat that’s sure to satisfy your sweet tooth and transport you back to the good old days.
Ingredients
– 1 1/2 cups all-purpose flour
– 1/2 teaspoon baking soda
– 1/4 teaspoon salt
– 1/2 cup unsalted butter, softened
– 3/4 cup granulated sugar
– 1 egg
– 1 teaspoon vanilla extract
– 1/2 cup creamy peanut butter
– 2 ripe bananas, mashed
– 1/2 cup semi-sweet chocolate chips
Instructions
1. Preheat the oven to 350°F (177°C). Grease a 12-cup muffin tin or line with paper liners.
2. In a medium bowl, whisk together the flour, baking soda, and salt.
3. In a large bowl, cream the butter and sugar until light and fluffy, about 2-3 minutes. Beat in the egg and vanilla.
4. Stir in the peanut butter and mashed bananas until well combined.
5. Gradually add the dry ingredients to the wet ingredients, mixing just until combined.
6. Fold in the chocolate chips.
7. Scoop the dough into the prepared muffin cups, filling them about 3/4 full.
8. Bake for 15-18 minutes, or until the edges are lightly golden and a toothpick inserted in the center comes out clean.
9. Allow the cookie cups to cool in the muffin tin for 5 minutes, then transfer to a wire rack to cool completely.
Notes
For a more pronounced banana flavor, use overripe bananas. You can also drizzle the cooled cookie cups with melted peanut butter or chocolate for an extra indulgent touch.
- Prep Time: 15
- Cook Time: 18
- Category: Cookies, Bars & Brownies
- Method: Baking
- Cuisine: American
Conclusion
These Elvis Cookie Cups are truly a one-of-a-kind treat that will have your taste buds singing with joy. With their irresistible blend of peanut butter, bananas, and chocolate, they’re sure to become a new family favorite.
I hope you’ll give this recipe a try and experience the magic of these Elvis-inspired cookie cups for yourself. Remember, baking is all about having fun and creating memories, so don’t be afraid to get creative and put your own spin on this classic.
Once you’ve whipped up a batch, be sure to let me know how they turned out! I’d love to hear your thoughts and see your creations. Happy baking, and may these Elvis Cookie Cups bring a little bit of Elvis-style joy to your life.


